Inspiration
Be inspired by learning about new ways in which you can support and drive your business forward by keeping up to date with the latest news and blogs from William Smith.
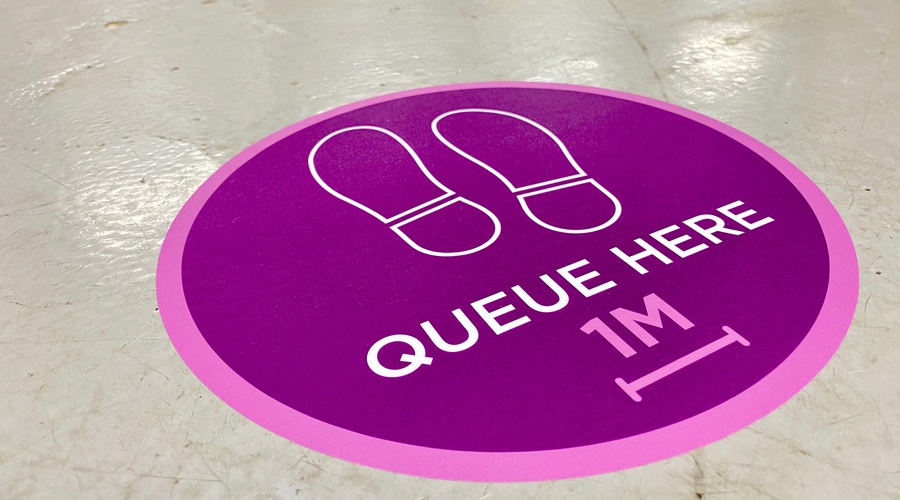
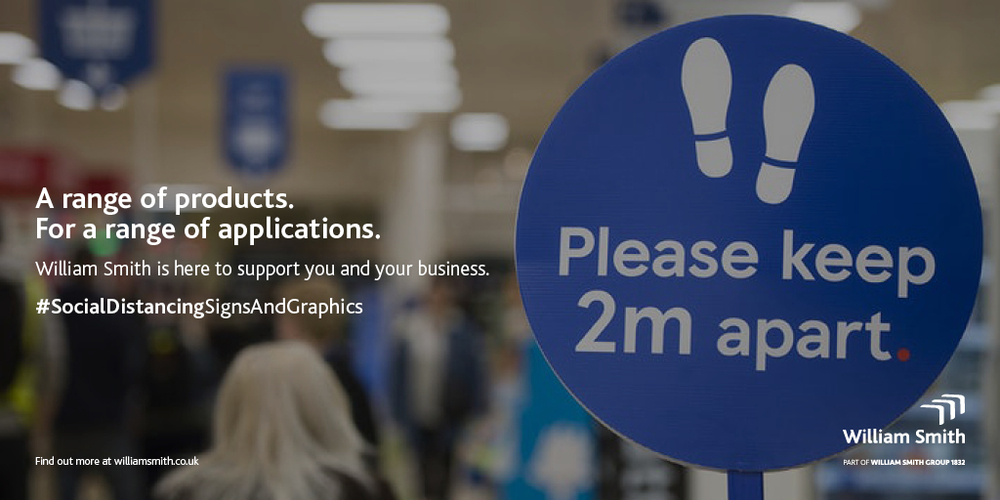
Floor graphics are in!
Social Distancing really is the buzz term at the moment. Rightly so. Both the welfare and safety of our nation must be the number one priority. The 2m rule is something which is becoming engrained in society and it’s not going away anytime soon.
With that in mind. Floor graphics have never been so important. These materials provide the perfect solution to implementing social distancing measures that will help this country beat the Coronavirus.
However. There are steps that need to be taken to ensure that floor graphics are applied both appropriately and safely! You really don’t want to get your fingers burnt! We’ve outlined some key do’s and don’t’s…
Yep. That’s right. Safety must always come first and that’s no different with floor graphics. Regulations must be obeyed.
Injury prevention must be in the forefront of your mind. The last thing you want is for someone to be hurt because of your error!
The table below from the European heritage site outlines ‘R anti-slip rating’. What is the R anti-slip rating? I hear you ask.
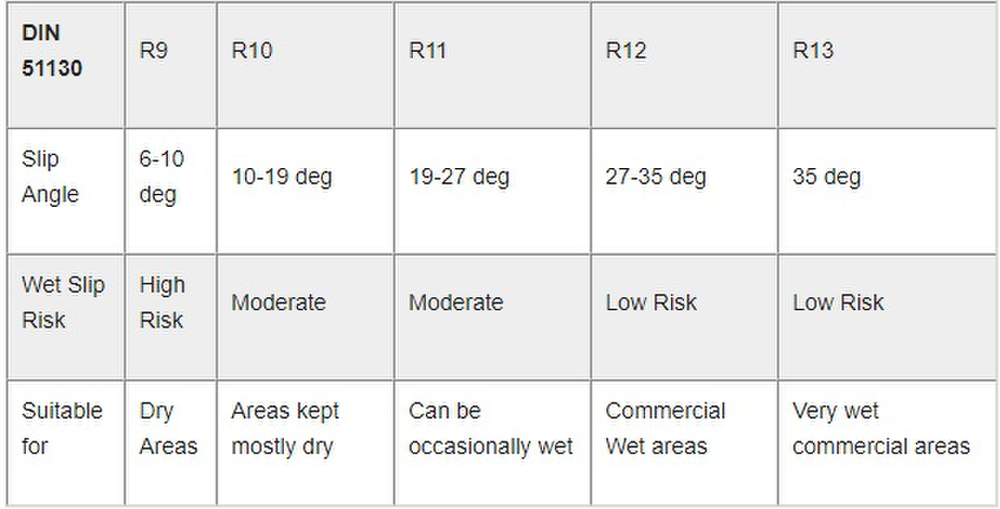
The R anti-slip rating is a measurement that describes the slip resistance of a material on a flat surface. Before the product can be described as ‘anti-slip’, it must be rated on the R scale.
What rating does floor graphics need to be? Well. It depends where they are going. For indoor application the floor graphic will need to be at least R9 or R10, whereas outdoor graphics need to be R10 or above.
Be thorough! Ensure your graphic meets the anti-slip regulation required for the surface its going onto.
Get to know your customers’ requirements. Make their problem, your problem. This will help you pick the right material!
There are questions you’re going to have to ask.
Firstly. How long is the graphic going to be down for? William Smith’s have a number of options from both Avery Dennison and 3M to choose from. Whether it’s a one-month application, 3 months, 6 months, 9 months or even a yearlong application, there is a product perfect for your client.
Is your customer wanting a permanent adhesion? Or do they want to easily remove the graphic? Again. There are products available for both scenarios!
Is the application inside or outside? There are different products for both internal and external applications. Don’t forget the ‘R anti-slip rating’!
The team at William Smith can help you answer all of these questions. Get in touch!

You’ve selected the material for your application. Its application time. Here’s some key points to keep in mind when installing your floor graphics.
Location of floor graphics
Accidents happen. Don’t make the mistake of putting a floor graphic in the wrong place. Any floor surface including floor graphics will become slippery if they are wet.
Do yourself a favour.
If you are applying an internal floor graphic, place the graphics away from the entrance of the building. Ensure your customers use doormats to reduce moisture and that they clean up any spillages or slippery areas immediately!
Preparation
Preparation is key. Something our Training and Applications Manager, Gill Harrison always talks about on our training courses. And it’s no different for floor graphics.
Clean your area! This is especially important where the graphics will be applied. Remove any oil, grease, soil or grit which could adversely impact the adhesion of the graphic.
Removing Graphics? Make sure adhesive residue is not left behind. if it is. Clean it up! And if you’re reapplying a graphic, again, make sure the floor is thoroughly recleaned.
Fail to prepare, prepare to fail!
Finishing the job
Don’t let them edges lift.
We recommend cutting a radius on any sharp corners after lamination. This will help prevent premature lifting of the graphic!
But you aren’t finished there! You need to re-squeegee the edges and corners. This will ensure good sealing and bonding of the graphic. And don’ t forget to wax the graphic as soon as possible after applying! This will protect the graphic from premature wear due to routine floor maintenance.
The finishing touch to the perfect job!
Don’t let all the hard work of winning the project and completing the installation go to waste. It could damage your long-term reputation.
See 3M’s detailed installation guide for floor graphics here: https://bit.ly/2zfgzDR.
The expert team at William Smith are on hand to help with queries or questions you have about floor graphics. Please don’t hesitate to get in touch by calling us at 01833 690305, or by emailing info@williamsmith.co.uk.